
Humble Ceramics / Earthen Hummus

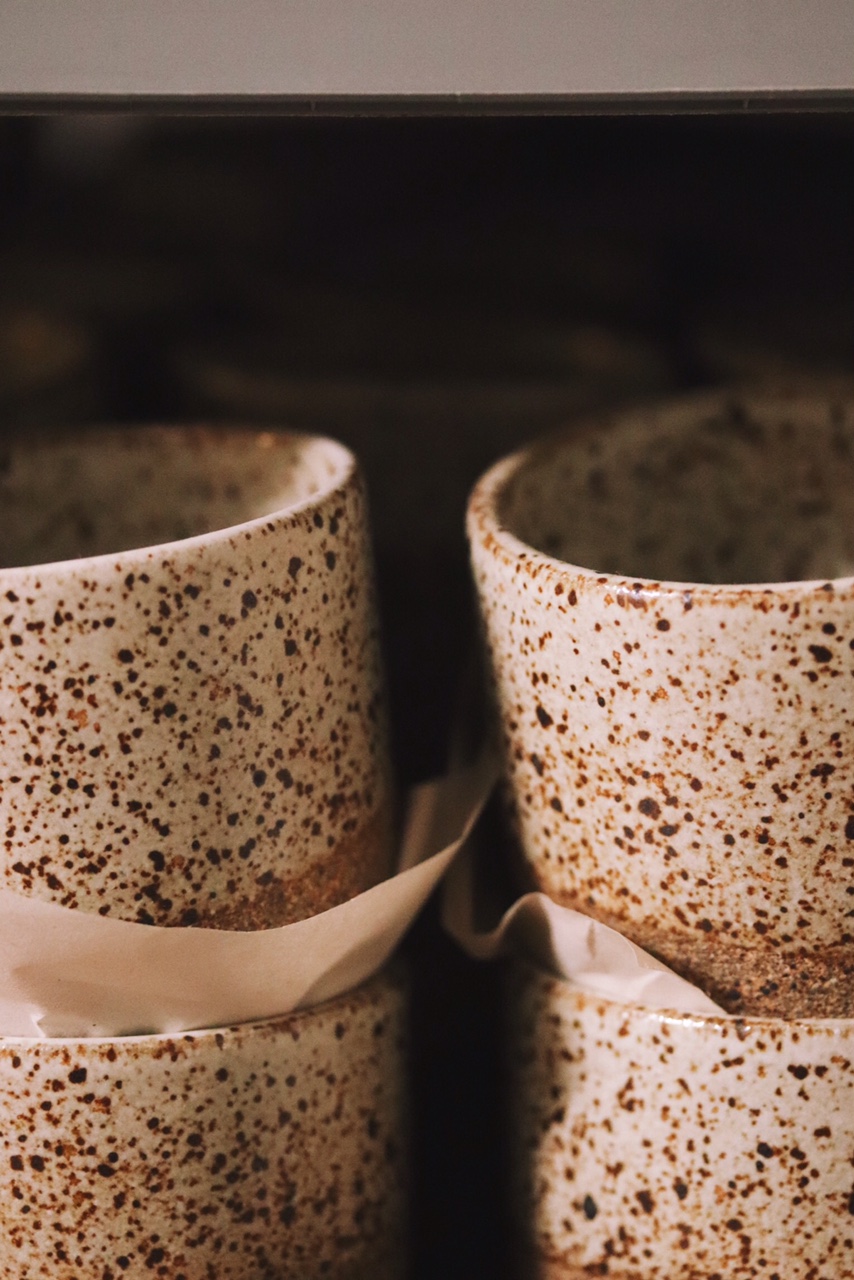


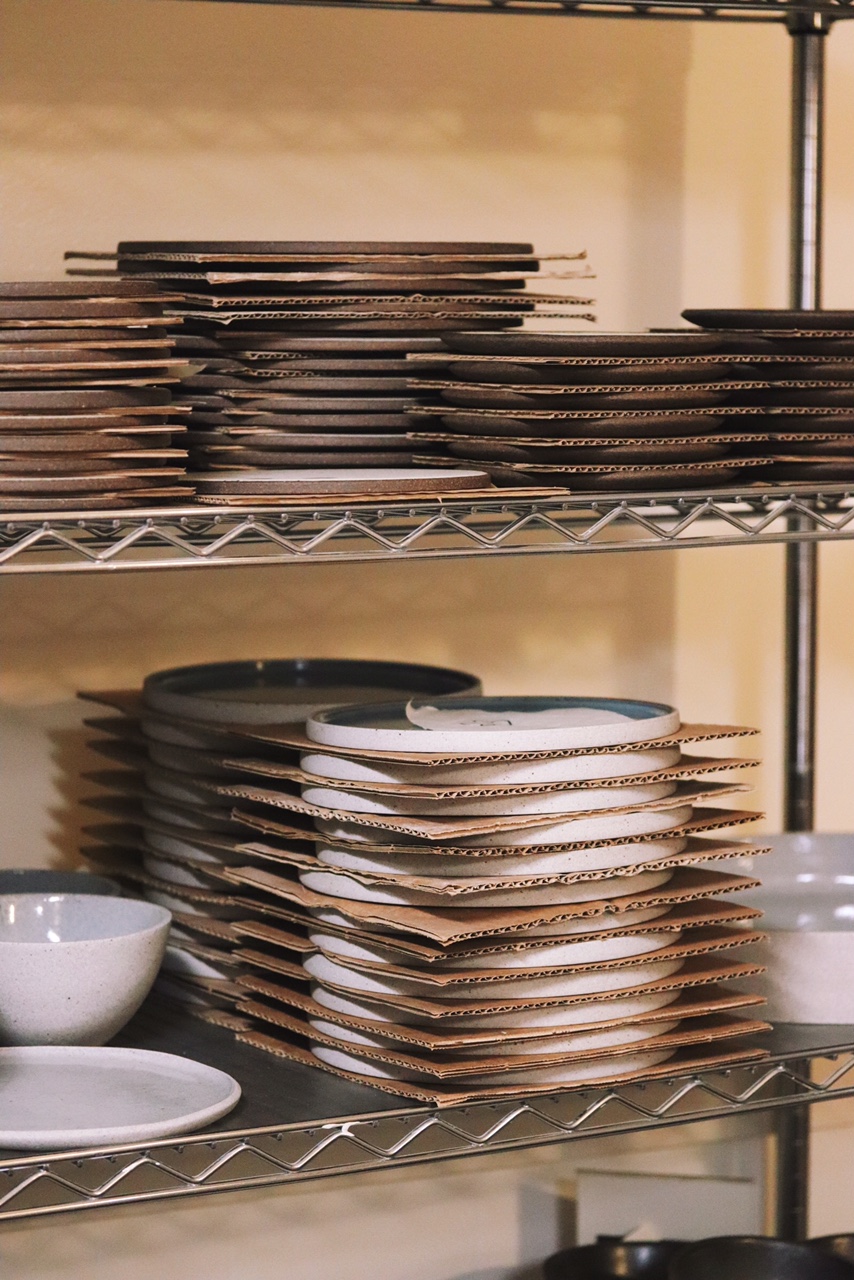

The first time I met Delphine I wasn't actually meeting Delphine. I came across Humble Ceramics when I was browsing to make a big adult purchase of ceramics, and was immediately struck by her sandstone plates; the warm colors, the earthy exposed texture of the clay, the simplicity of the lines and shapes, the wide open spaces. They all felt perfectly minimalist yet still full of character; my go-to aesthetic.
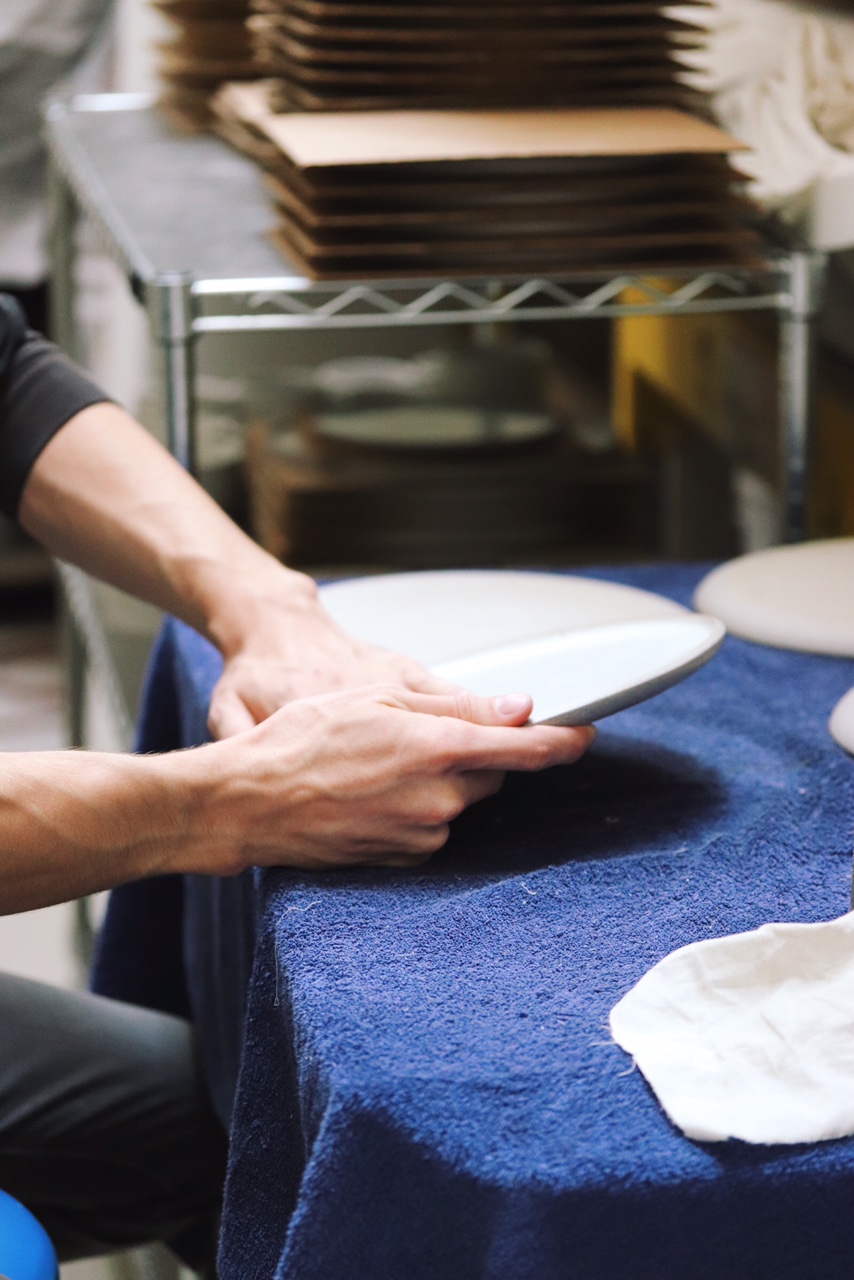
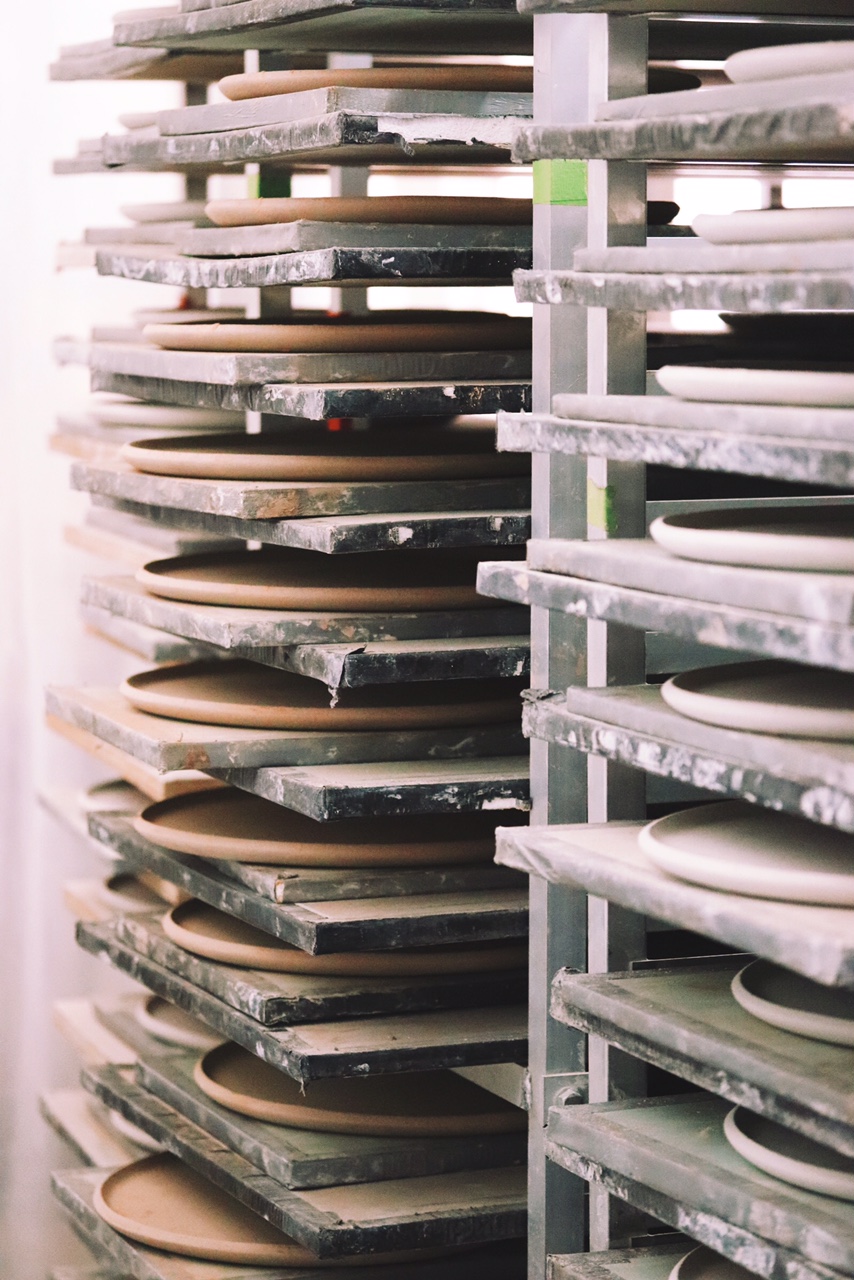
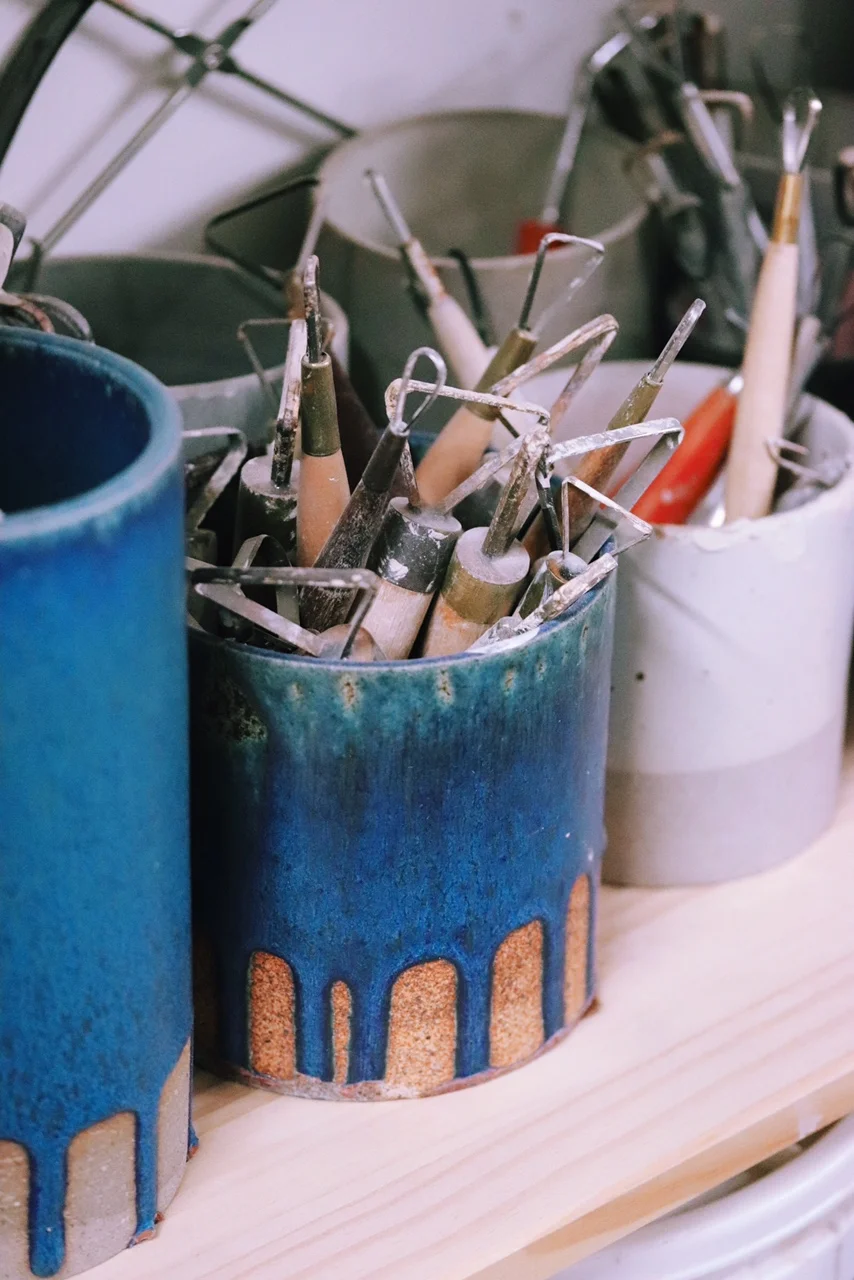
When I visited Delphine at her studio, I was silently shocked by how perfectly I had been drawn to her work without even knowing it. Between entering the studio door under a fig tree to the desert tones that she described had inspired the pieces I purchased, I knew our meeting was more than coincidence. In that conversation I understood that Delphine's connection to her work is universes beyond a passion for pottery and growing a business. Humble's pieces are a direct reflection of something intensely genuine and admirable. As she described her feelings behind concepts of duality that go into designing each piece, and how she felt humbled when she started working with clay, it was obvious to me that the joy I was getting from my plates and mugs at home was something that had been directly transmitted from Delphine's hands through each piece her studio produces.
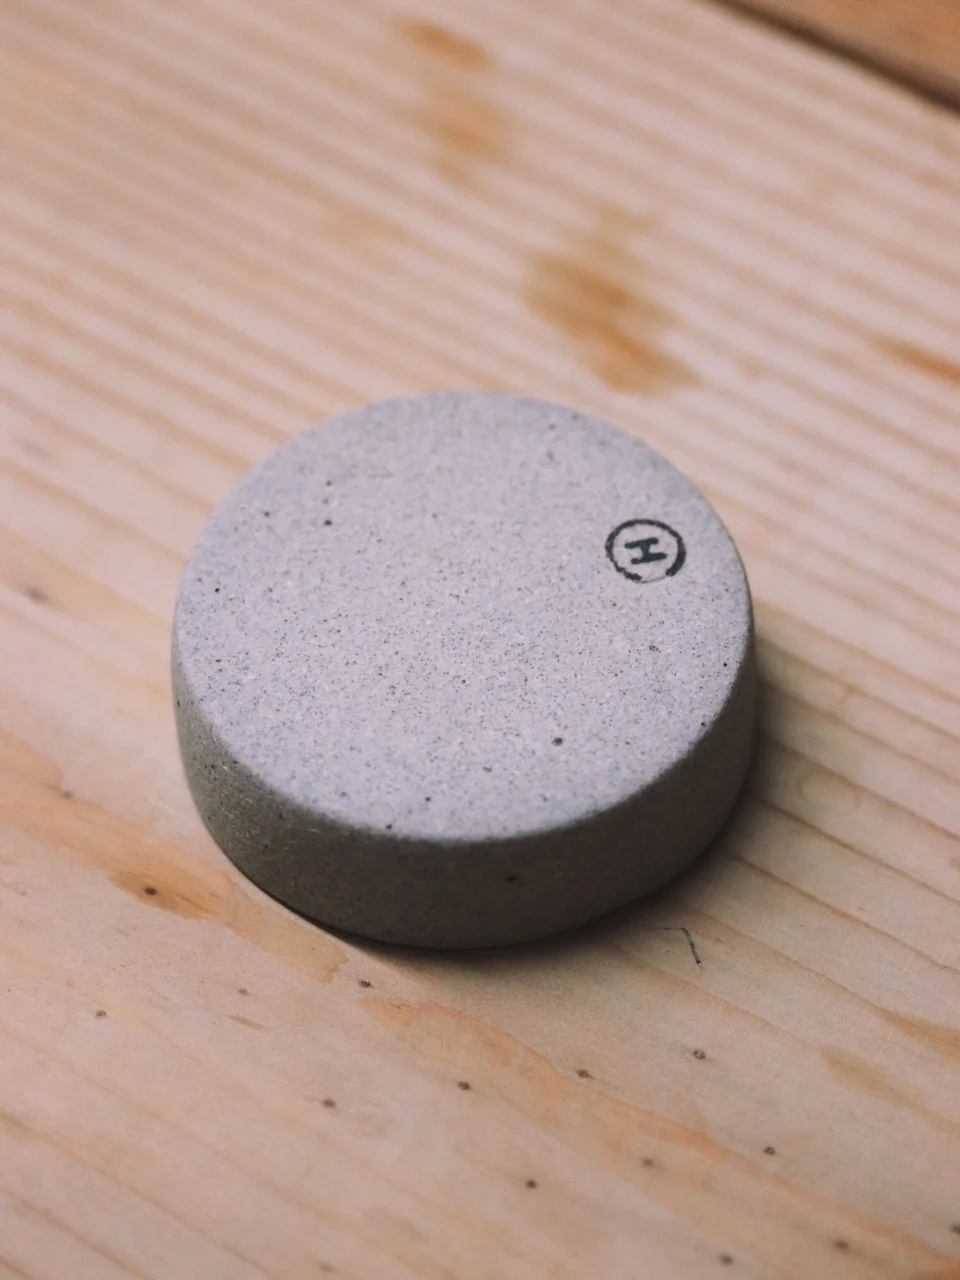
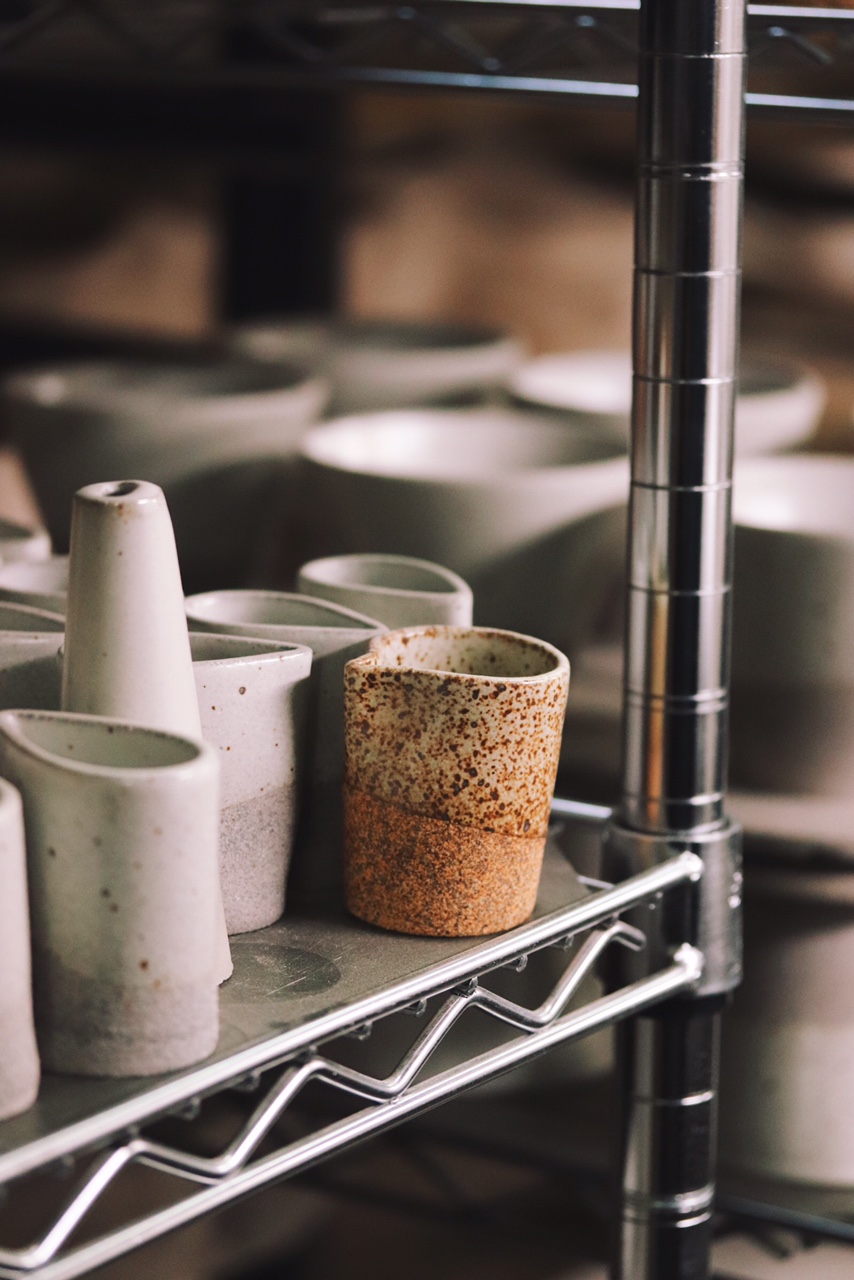
When I got home from that meeting I re-read the 'About Us' page on Humble's website. It conveyed a mission of polarity, being grounded, appreciation of imperfections, and strength conveyed through simplicity, all of which is clear from the expertise, thoughtfulness and intention in each piece. I looked in my cupboard at the beautiful bowls and plates, the mug with the strong heavy bottom, the gorgeous colors of the sandstone and glaze. All these ideas are conveyed to me through Delphine's work, and in the end, it was me who was humbled by the ceramics and her spirit.
Among other things, Delphine and I got to talking about hummus. I grew up eating homemade hummus before it was a grocery store staple. Knowing the passion that follows this unassuming dish in other parts of the world, I thought it was very fitting that hummus would represent Humble Ceramics. It might seem like an easy dish to some, but truly good hummus that you want to eat straight with a spoon is a true art form. How to cook the beans, the type and amount of tahini to use, mastering the ratio of seasoning and flavors; just like ceramics, it's a matter of technique, practice, and passion. After all, beans are some of the oldest cultivated foodstuffs, and in that context chickpeas and clay probably have more in common than we often take time to think about.
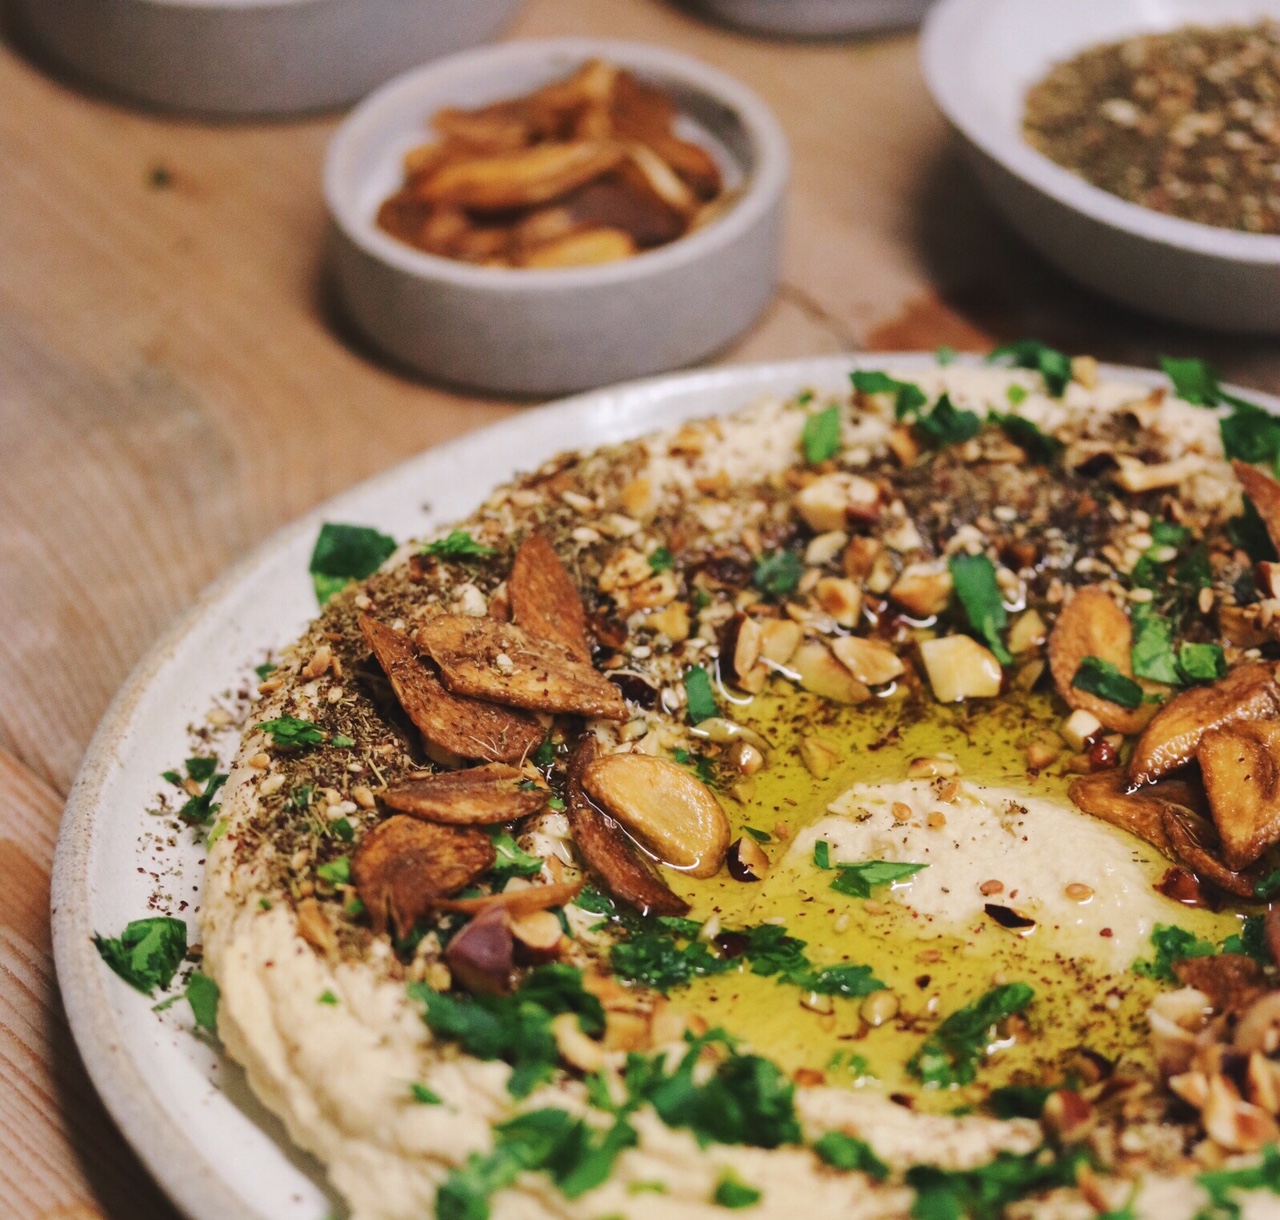
Topping the hummus with earth-toned toasted nuts or grains, fried aromatic garlic, and dried herbs mirrors the duality of Humble Ceramics' pieces. Creamy, smooth and luxurious hummus is complimented by earthen elements that add exceptional flavor and texture. What looks simple and of humble origins, in both the case of clay and bean, is actually the product of a clear but quiet intention to convey calmness, presence, and simplicity.

EARTHEN HUMMUS
Makes ~2.5 cups
INGREDIENTS
1 c dried chickpeas (yields ~2.5 cups cooked)*
3/4 c tahini
juice of 1 lemon
2 gloves garlic, roughly chopped
2-3 tsp cumin
2 tbsp olive oil
1 tsp baking soda
Salt and pepper to taste
~1/4 c bean cooking liquid, as needed**
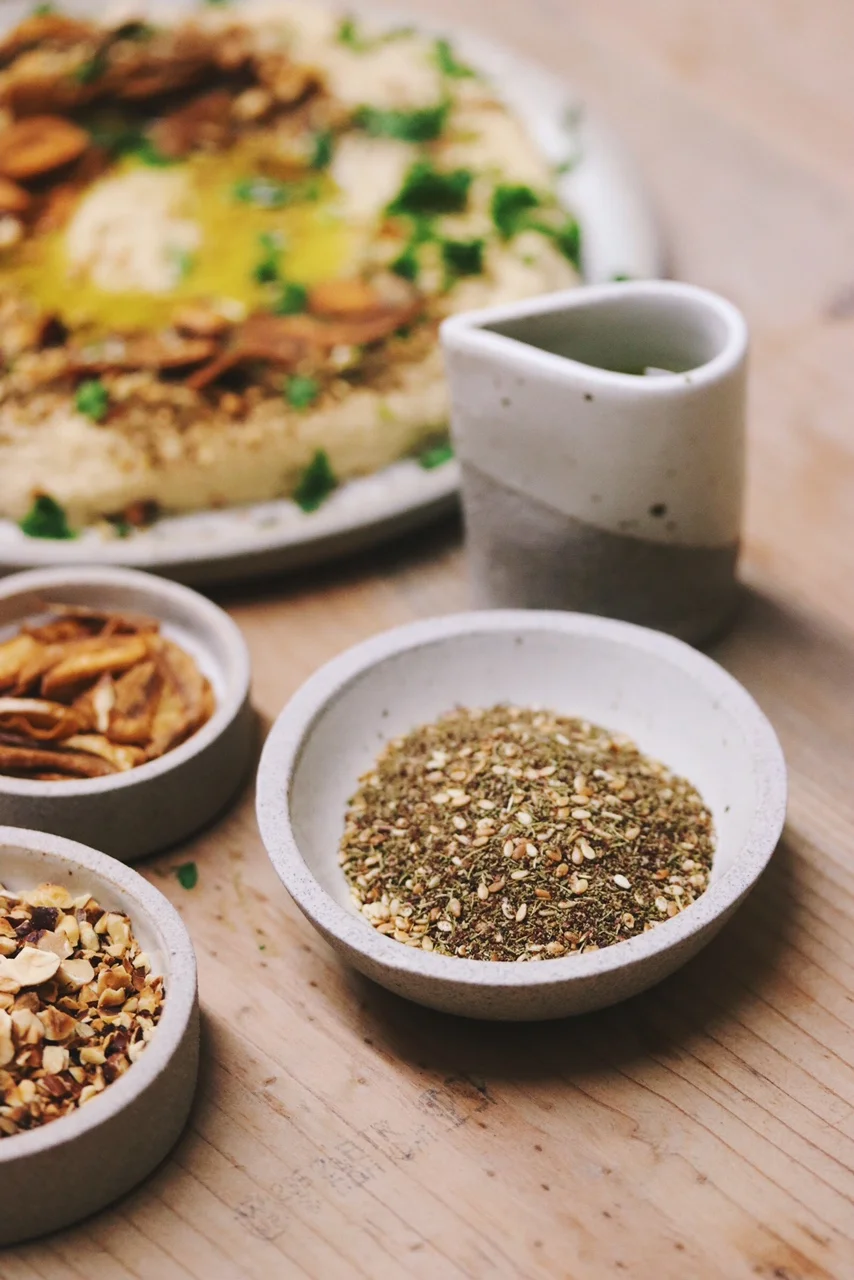
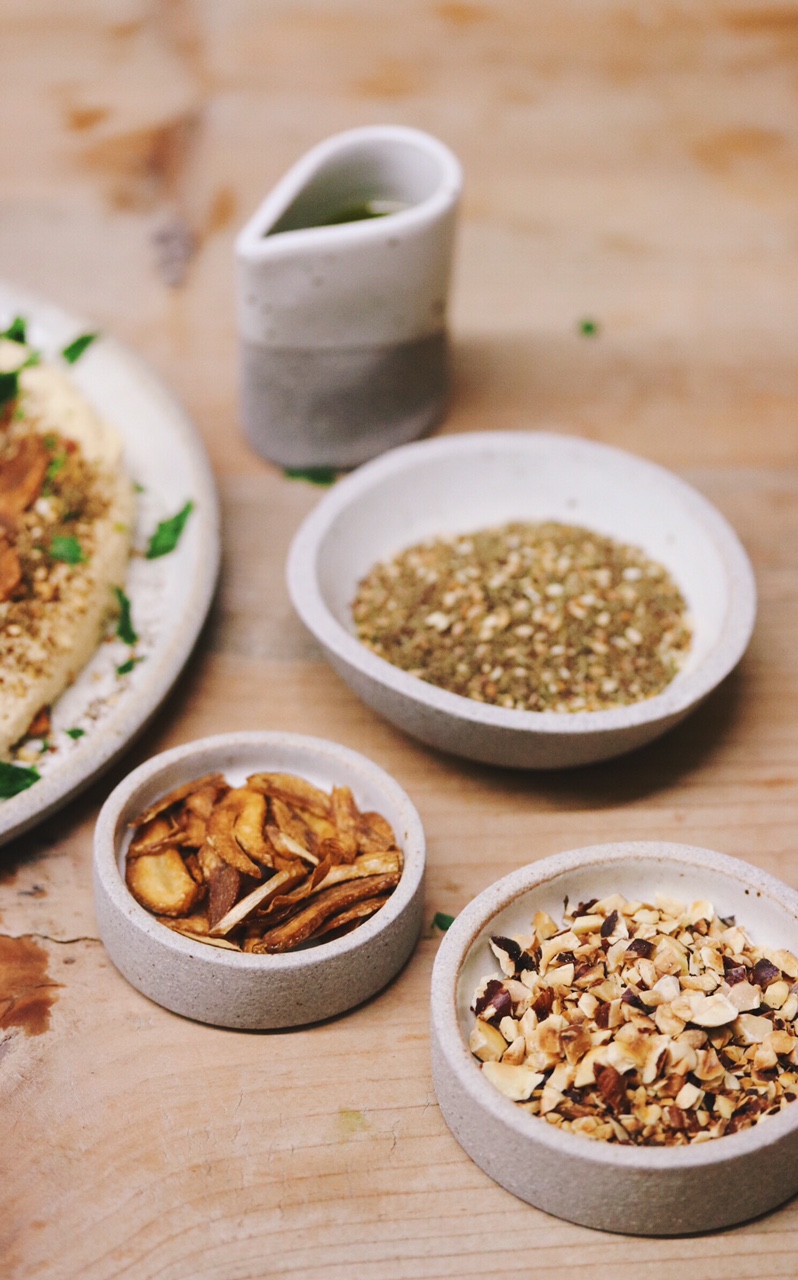
Optional toppings pictured here: za'atar, toasted nuts and grains, fried garlic, olive oil, chopped parsley.
INSTRUCTIONS
Place the chickpeas in a large bowl or container and soak in the refrigerator overnight or at least 8 hours.
*I think homemade beans here really make a difference in creaminess and smoothness of the hummus, however if you must used canned, skip to instruction 3.
Drain the chickpeas and place in a pot of water with at least 2 – 3 inches of water covering the beans. Add the baking soda. Bring to a boil and then lower to medium heat. Simmer until tender, around 1-1.5 hours. Check periodically to add water if needed. You want tender, almost falling apart beans. The baking soda will help get the skins off. When you can easily smash a bean between your fingers and you see some skins floating in the water, they are ready.
If using canned beans, bring a pot of water and the beans (at least 2 – 3 inches of water covering the beans) to a boil, and add the baking soda. Once boiling, lower to medium heat, simmer and cook for about 15-20 minutes until the beans are even more tender and the skins are starting to float in the water.
Reserve a little cooking liquid in a cup and then drain the beans. Return them to the pot and add some room temperature water cool enough for you to put your hands in. Gently swirl the beans around with one hand to loosen and remove some of the skins, and slowly drain into a colander to let the skins drain out and catch any beans that float to the top. Repeat this a few times. You'll notice that the skins float to the top so each time you drain, they flow out first. I'm sure there is a better way to do this, but this is what I've found effective. I usually get lazy after about 2/3 of the beans are de-skinned but even this much de-skinning really makes a difference in creaminess.
In a food processor or high power blender, add the cooked chickpeas, tahini, half the lemon juice, garlic, half the olive oil, cumin, and a good dash of salt and pepper. Begin to blend on low/medium low speed, scraping down the sides as needed. Taste, and add the remaining lemon and oil as needed. You'll likely need all of it but it's better to add things slowly and then keep adding to taste. Remember that garlic will get more potent with time! You can also add a tiny bit of cooking water here if needed. I usually don't need it but it's good to have just in case.
Keep adjusting until you have reached a nice flavor profile and let the blender or food processor run for a few minutes so that the hummus gets smooth.
Toppings
For homemade za'atar, see here.
For fried garlic, thinly slice some garlic and fry in olive oil on medium heat until golden brown.
Nuts/grains can be chopped and toasted in a pan at home, or you can buy roasted nuts and chop.

Learn more about Humble Ceramics and find stocklists here. Thank you to Delphine and the Humble Ceramics studio.